
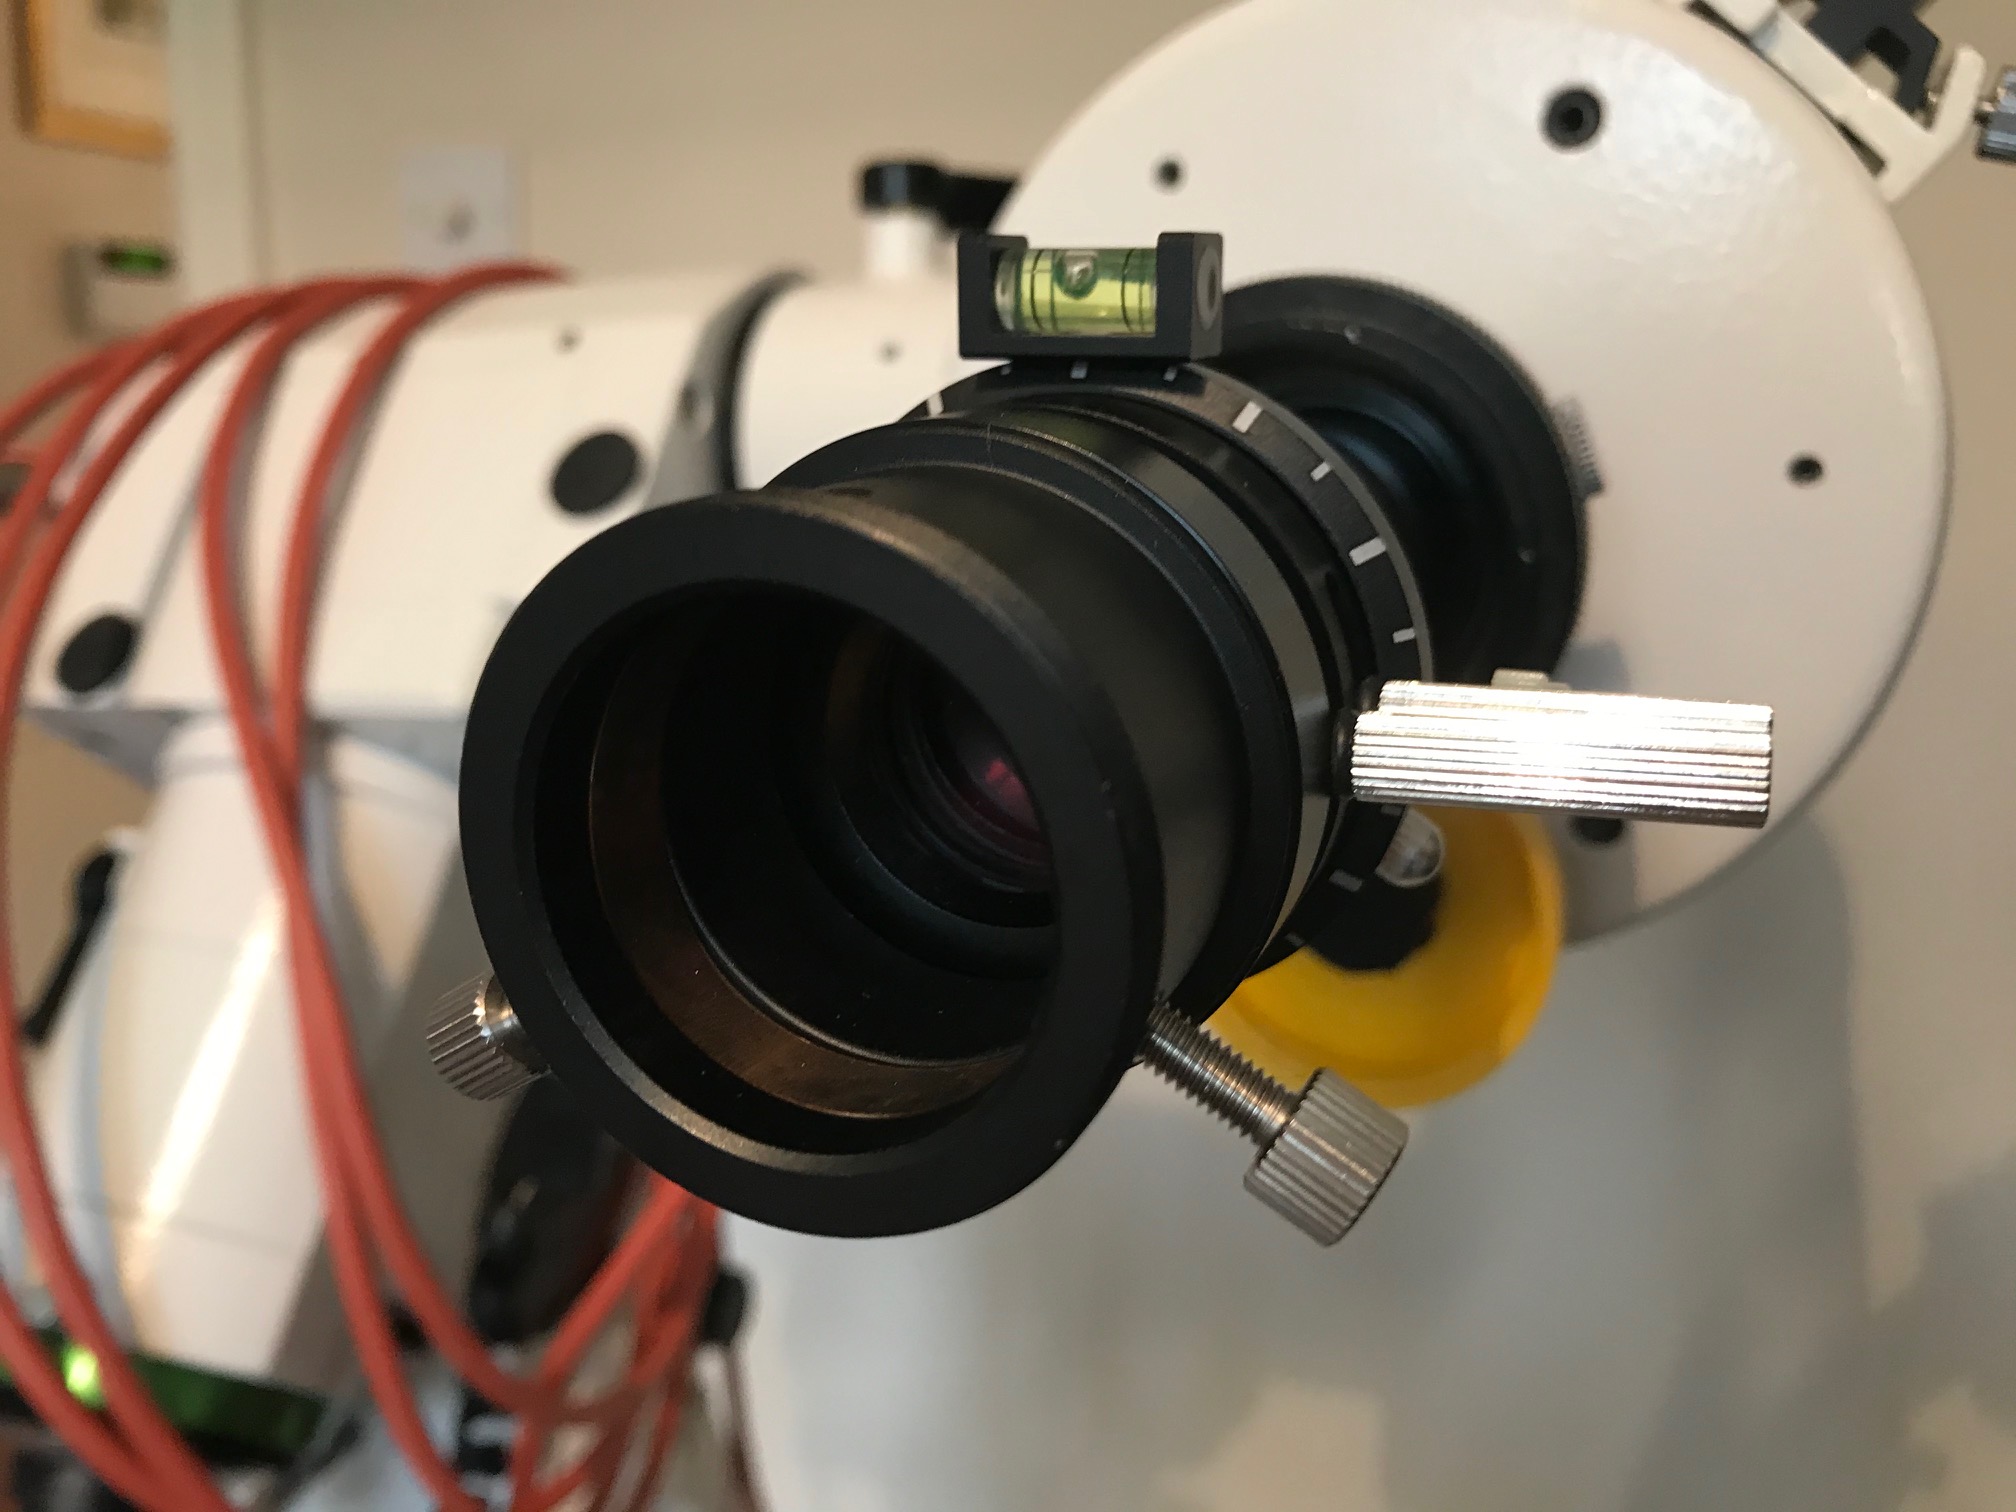
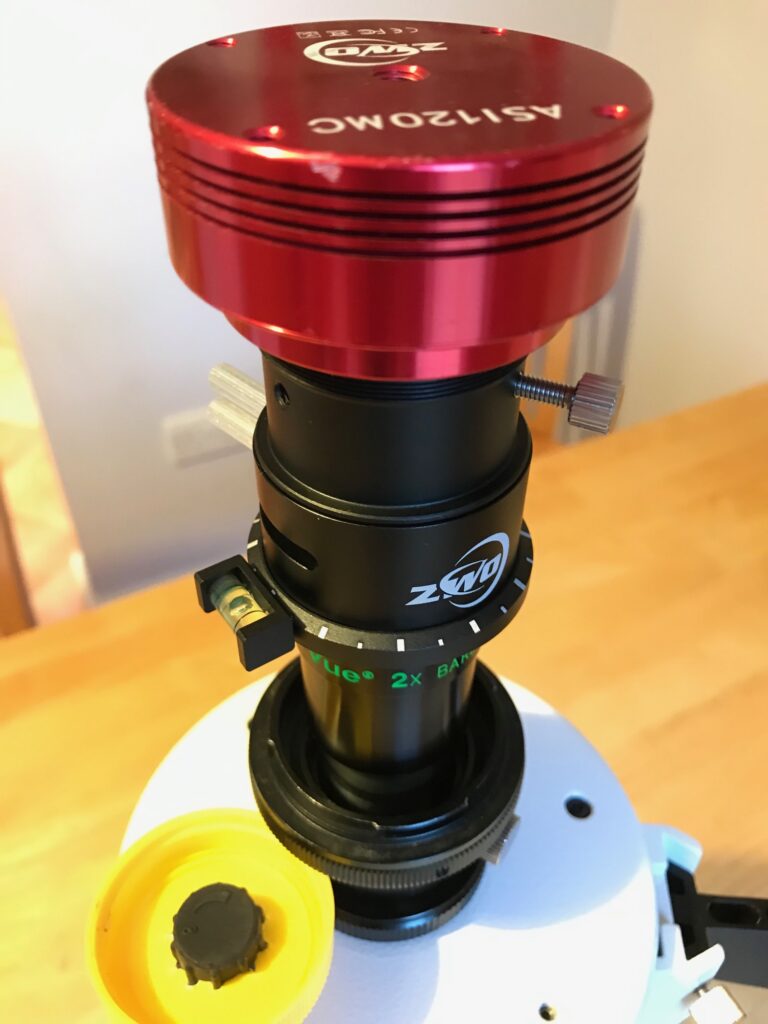
Time for something new. I’ve purchased a ZWO ADC to (hopefully) improve my images of planets which are low down in the sky. I’ve made a new video of the device on my YouTube channel.
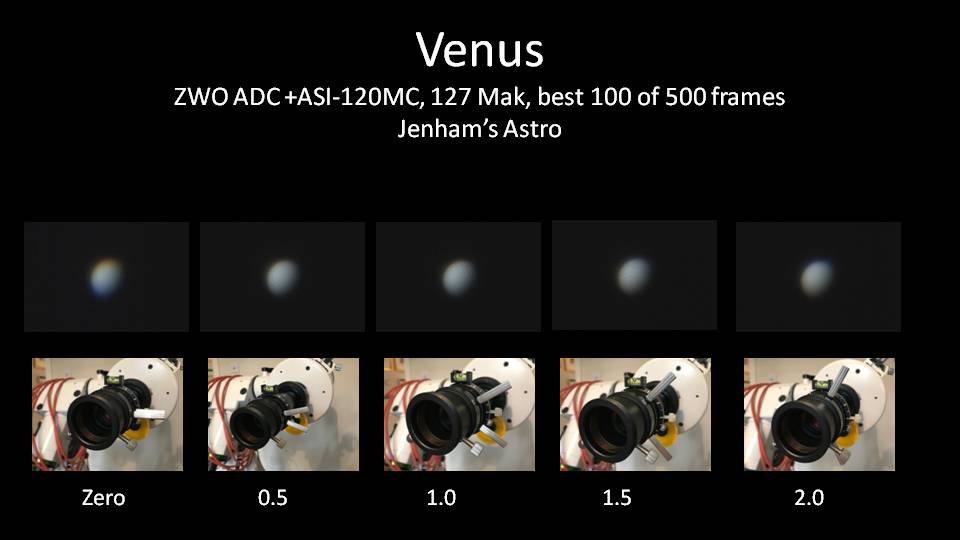
Here are the results based on a series of 500 .AVI captures of Venus, using different lever positions on the ADC.

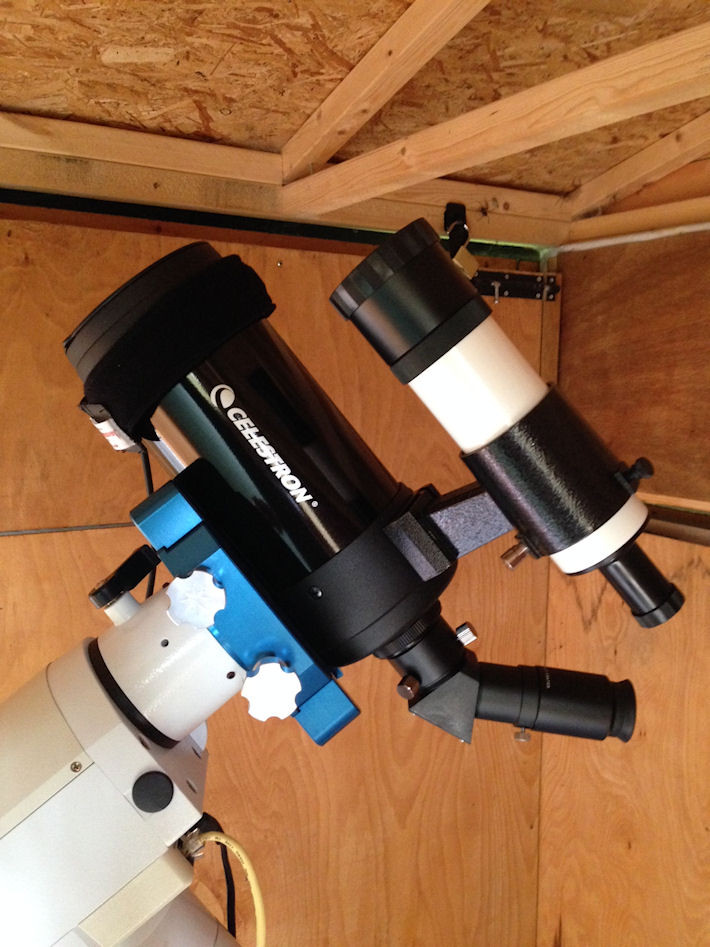
A new scope has arrived, to complement the C90. It’s a Skywatcher Skymax 150 Pro Mak. Here are a few pics:


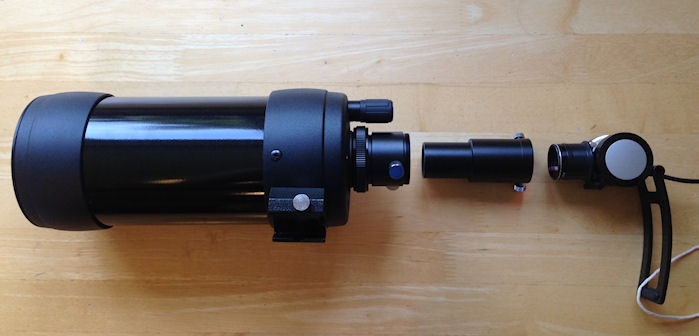
For planetary imaging I use a Philips SPC900NC Webcam, a 3x Barlow and either Philips VLounge or WxAstroCapture software on a laptop. The images are then processed inexpertly using RegiStax.
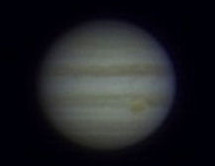
My deep-sky setup using the GT81 (f/5.9) with a 3x Bresser barlow yields an equivalent focal ratio of f/17.7. When used with the webcam this doesn’t produce an image covering enough pixels, so when you crop the resulting picture the image is pixelated:

I don’t think this will worry Mr Peach…
If you read the forums they will tell you that f/30 is needed to solve this image scale problem. A very useful explanation can be found at the Starizona website. So, you can buy a webcam/imaging camera with smaller pixel sizes, or buy a scope with a longer focal length.
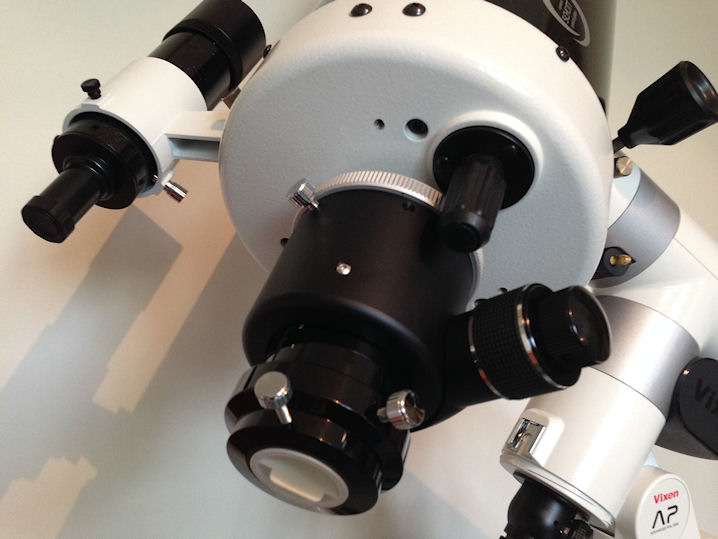
Sticking with my £50 webcam for now, I am trying to increase the “number of pixels per planet” by buying a Celestron C90 Mak scope. At f/13.9 and £150 it’s cheap and quite cheerful, but don’t try looking through it unless you are (i) under 40 or (ii) blessed with pupils able to dilate to the diameter of an adolescent, or (iii) enjoy peering down a narrow dark tube. Users of small Apo scopes should prepare for an initial bout of frustration when doing even simple tasks, like finding an alignment star!
The setup looks like this during the now fiendishly tricky alignment stage:
If the toys are still in the pram and two alignment stars have been bagged then here is the imaging setup including mandatory extension tube and webcam, which itself includes an IR blocking filter:
The piece of string is important; I tie it around some bolt or other on the mount, to stop the camera falling to the floor if i forget to tension a screw somewhere! Another lesson learnt the hard way…
Prepare to spend ages trying to locate the planet on the PC screen. I generally while away five minutes or so turning the focus knob many times one way and then the other. Compared to a refractor drawtube with its graduated scale, you will have no idea whether to turn the knob one way or another. This is one reason imagers buy aftermarket focusers for Cat scopes.
I will update this page when I discover a better way of finding the sweet spot.
As a quick-look at the results, you can compare the GT81 image above taken with a equivalent focal length of 3 x 81 x 5.9 =1433mm with that achieved with the C90 at 3 x 90 x 13.89 = 3750mm.
